Axolotls are a unique species of salamander that are native to Mexico City. These fascinating creatures are often kept as pets due to their unusual appearance and their relative ease of care. If you are interested in breeding axolotls, the first step is to learn how to care for their eggs. In this article, we will provide you with a detailed guide on how to take care of axolotl eggs.
What are Axolotl Eggs?
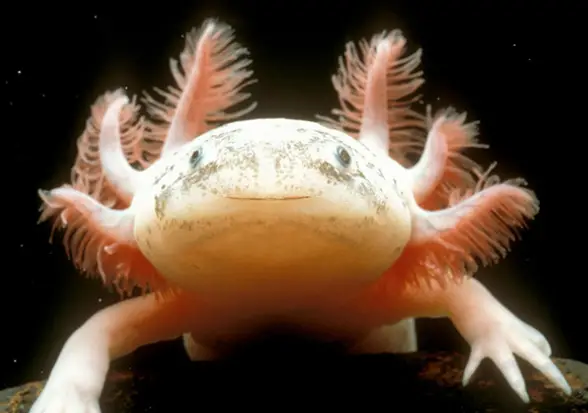
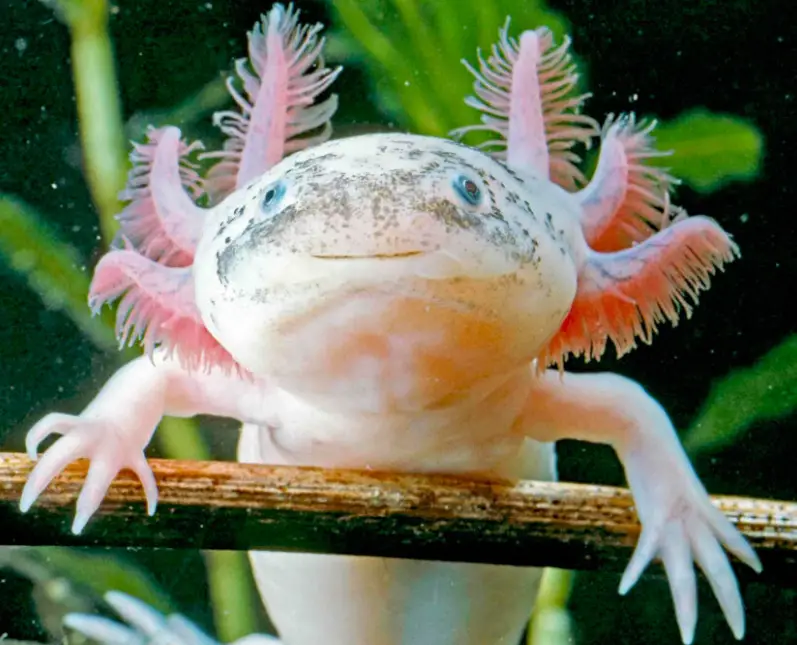
Axolotl eggs are the eggs laid by the axolotl, a species of salamander native to Mexico. Axolotls are known for their ability to regenerate lost body parts, and they are often kept as pets or used in scientific research.
The axolotl is an oviparous species, meaning that it lays eggs to reproduce. Axolotls typically lay their eggs on aquatic plants or other surfaces in the water. The eggs are small, about 1.5 to 2 millimeters in diameter, and are usually laid in clusters of 100 to 300.
Axolotl eggs are translucent and have a gelatinous outer layer that protects the developing embryo inside. The eggs usually hatch within 14 to 21 days, depending on the temperature of the water they are in. After hatching, the young axolotls are initially tiny and fragile, and require special care to survive.
Axolotl eggs are of interest to researchers studying regeneration and development, as well as to hobbyists and pet owners who breed axolotls.
How to Identify Fertilized Eggs
There are a few different ways to identify whether or not an egg has been fertilized. Here are some methods:
- Candling: Candling is the process of shining a bright light through the egg to observe the contents. When an egg is fertilized, it will develop a small dark spot or ring around the center of the yolk. This is called the blastodisc and is the beginning of the embryo. If you see this spot, the egg is fertilized.
- Egg development: If you have a rooster and hens in your flock, you can assume that any eggs laid by the hens have the potential to be fertilized. However, fertilization does not occur immediately, and the egg needs to be incubated for a certain amount of time before the embryo develops. So, if you collect eggs regularly and notice that some have been in the nest for a longer period, it’s more likely that those eggs are fertilized.
- Crack the egg open: If you crack an egg open and see a small white spot or “bullseye” on the yolk, the egg is fertilized. This is because the “bullseye” is the embryo developing on the yolk.
It’s important to note that fertilized eggs are safe to eat, but if you’re collecting eggs for hatching, you’ll want to separate and store the fertilized eggs differently than the unfertilized eggs.
Where to Store Axolotl Eggs
Axolotl eggs should be stored in an aquarium or other suitable container that provides appropriate conditions for their development. The container should be filled with clean, cool, and oxygenated water. The temperature should be maintained at around 18-20°C (64-68°F), and the pH should be between 7.0 and 7.5.
It is essential to keep the eggs away from direct sunlight or any other heat source, as this can lead to overheating and death of the embryos. Additionally, the eggs should be protected from predators such as fish, snails, and other aquatic creatures that may consume them.
Once the eggs are laid, it is crucial to keep them clean and free of debris. You can use a gentle flow of water to keep the eggs clean, and you may also need to manually remove any debris that accumulates around the eggs.
It’s important to note that axolotls are known for their cannibalistic behavior, and they may eat their own eggs or other eggs laid in the same container. Therefore, it is best to separate the eggs from the adult axolotls and other fish or aquatic creatures that may consume them.
How to Incubate Axolotl Eggs
Incubating axolotl eggs requires careful attention to their environment and some specific equipment. Here are the general steps to incubate axolotl eggs:
- Collect the eggs: Axolotls lay their eggs on aquatic plants or other surfaces, so carefully remove these and place them in a separate container. Make sure to keep the eggs wet at all times.
- Prepare the incubation container: Axolotl eggs should be incubated in a separate container with clean, fresh water. The container should have a lid to maintain humidity and prevent contamination.
- Add an air stone: An air stone can be added to the incubation container to provide oxygen to the developing embryos.
- Set up a heater: The incubation container should be kept at a temperature between 18-20°C (64-68°F). A submersible aquarium heater can be used to maintain a consistent temperature.
- Monitor the water quality: The water in the incubation container should be changed regularly to maintain water quality. A small amount of aquarium salt can be added to the water to help prevent fungal growth.
- Wait for the eggs to hatch: Axolotl eggs take about 10-14 days to hatch, depending on the temperature. Once the eggs have hatched, the larvae will need to be fed small amounts of live food, such as daphnia or brine shrimp.
Conclusion
Taking care of axolotl eggs can be a rewarding and educational experience for any pet owner. By following the tips outlined in this article, you can ensure the health and well-being of your axolotl hatchlings and help them grow into healthy, vibrant adults. Remember to maintain the quality of the water, provide a varied and balanced diet, and ensure that the temperature is consistent and within the optimal range. With the right care and attention, your axolotls will thrive and provide you with years of enjoyment.